How to Spray Paint a Gun – Painting Airsoft Guns is now growing in popularity, and a simple design with a stencil can be easy to do. However, please remember that the more complicated the stencil design, the more time it will take, and it can be very tricky if this is your first paint job. Gun Stencils can be used in different ways; you can use just the centre parts of the stencil design or the outer mask. You can even use both and have multiple colours in your design – the only limitation to the user’s creativity.
The most important thing is to take your time, get your layout right and give your paint time to dry between coats or before removing stencils.
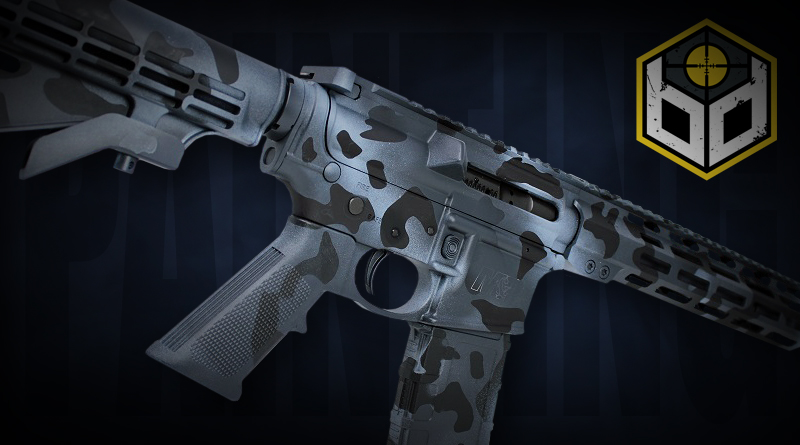
So let’s jump into a standard gun spray job with a simple stencil, something like a Woodland Camo single-colour paint:
- Clean the Firearm: Before you begin painting, ensure that the firearm is clean and free of debris, oil, and dirt. Use a degreaser to clean the surface thoroughly and let it dry completely.
- Cover up any parts you don’t want to be painted, such as the barrel, muzzle and stock arm.
- Plug any gaps or holes into the gun internals, such as the mag well, barrel, dust cover and selector switch.
- If you are applying a base coat of paint, do that now.
- Choose Your Camo Stencil: Choose the camo stencil you want to use. You can buy pre-made stencils from Ballistic Designs or make your own.
- Position Your Stencil: Position the stencil on the gun, using the parts of the stencil you want to use.
- Use a craft knife to remove the stencil from its backing.
- Spray Paint: Use good spray paint, something like Duracoat or another specifically designed paint for firearms.
- Shake the can well before spraying.
- Spray the paint evenly over the stencil and the exposed parts of the firearm.
- Use multiple thin coats of paint instead of one thick coat to avoid drips.
- Repeat with Other Colours: If you use multiple colours in your camo pattern, let the first colour dry before adding the next.
- Apply each colour with its corresponding stencil, and make sure the edges of the stencils overlap to create a seamless pattern.
- Remove Stencils: Once the paint is dry, carefully remove the stencils from the firearm.
- Use a craft knife to remove any excess paint or stencil material that may have adhered to the surface.
- Seal the Paint: Once the paint is dry, apply a clear coat of sealant to protect the paint from scratches and wear.


DISCLAIMER: If you are new to the world of gun painting, we provide this content on this blog as advice only and take no responsibility for the outcome of your gun painting. We encourage each and every gun painter to do their own research regarding using stencils and gun painting. YouTube is a great place to see experienced gun painters in action and how they recommend using stencils for the best results.
WARNING: Painting any gun will void any warranty you may have on it!
BALLISTIC DESIGNS, GUN STENCILS AT JUST BB GUNS
Take a look at all of our Gun Stencils and find the right one for you.